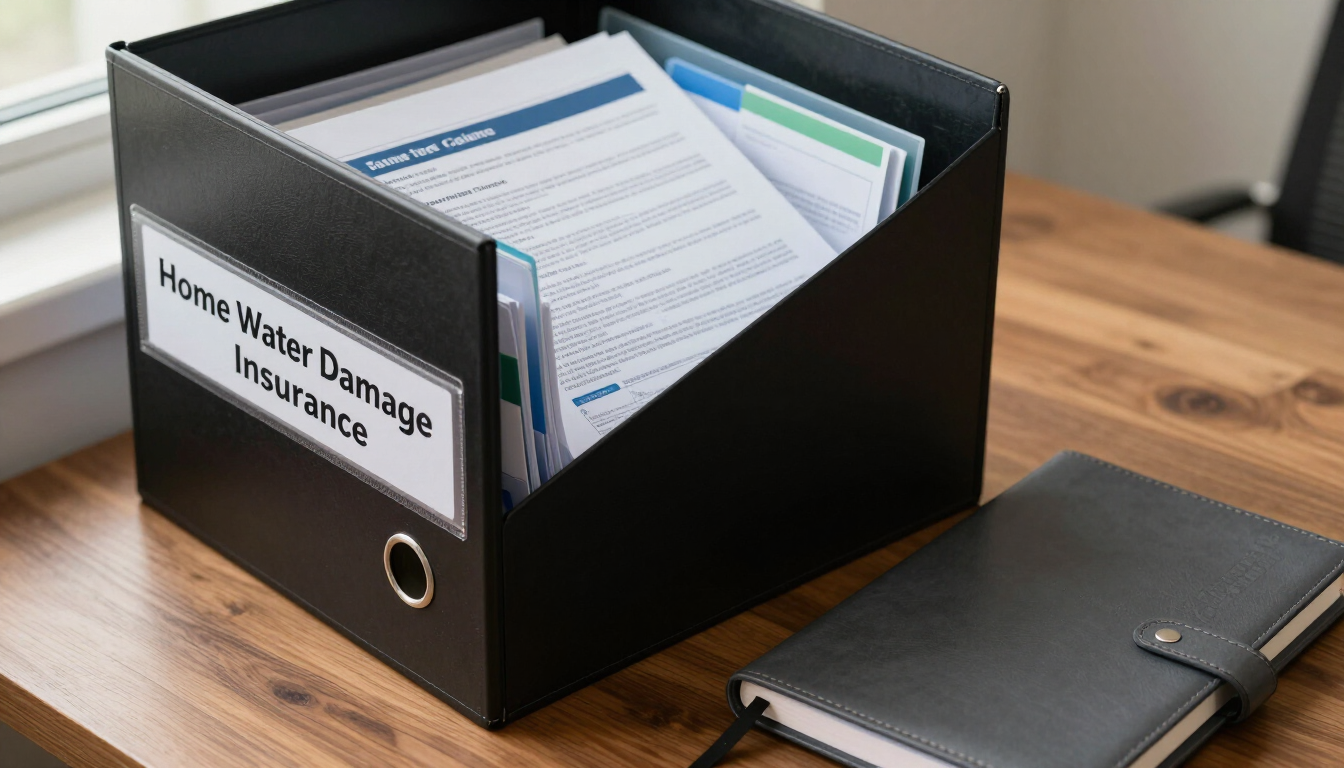

Water Damage Documentation: Secure Your Claim in 48 Hours
Why 48 Hours Matter for Water Damage Claims

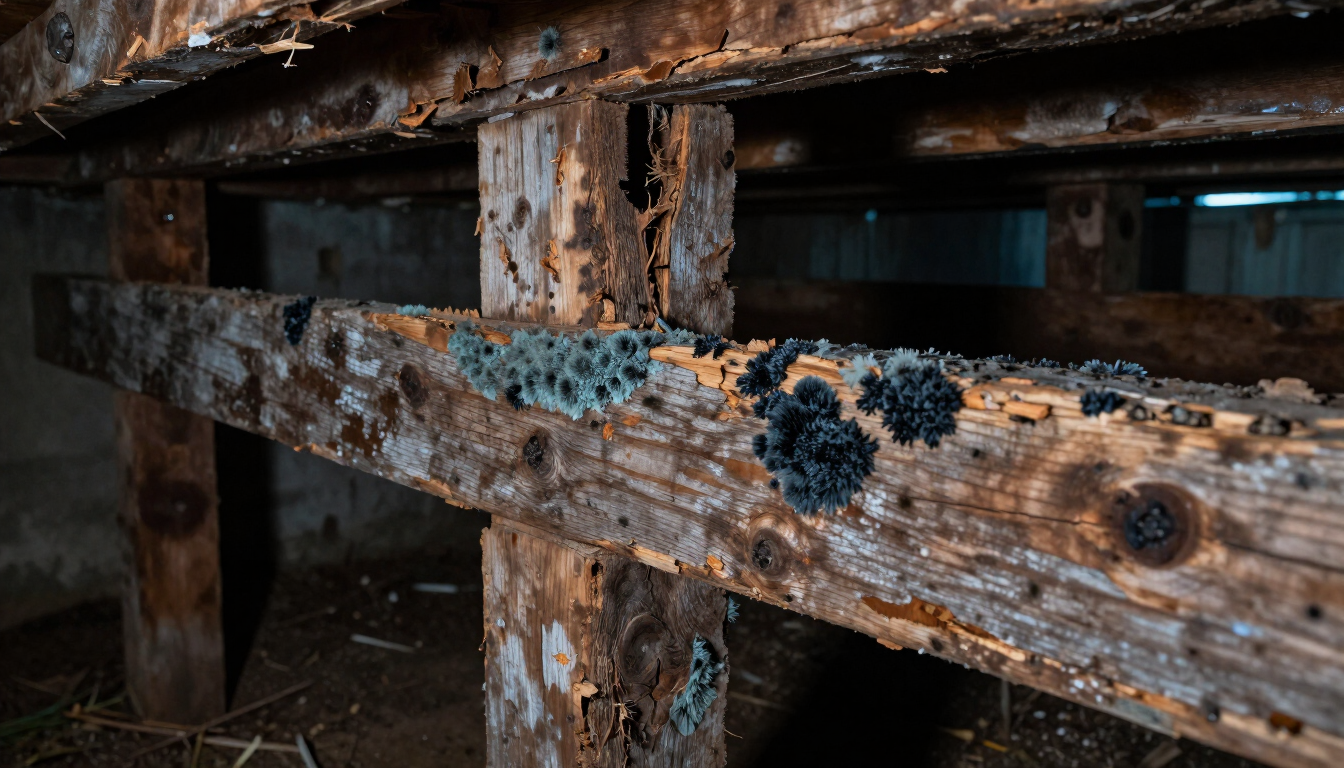
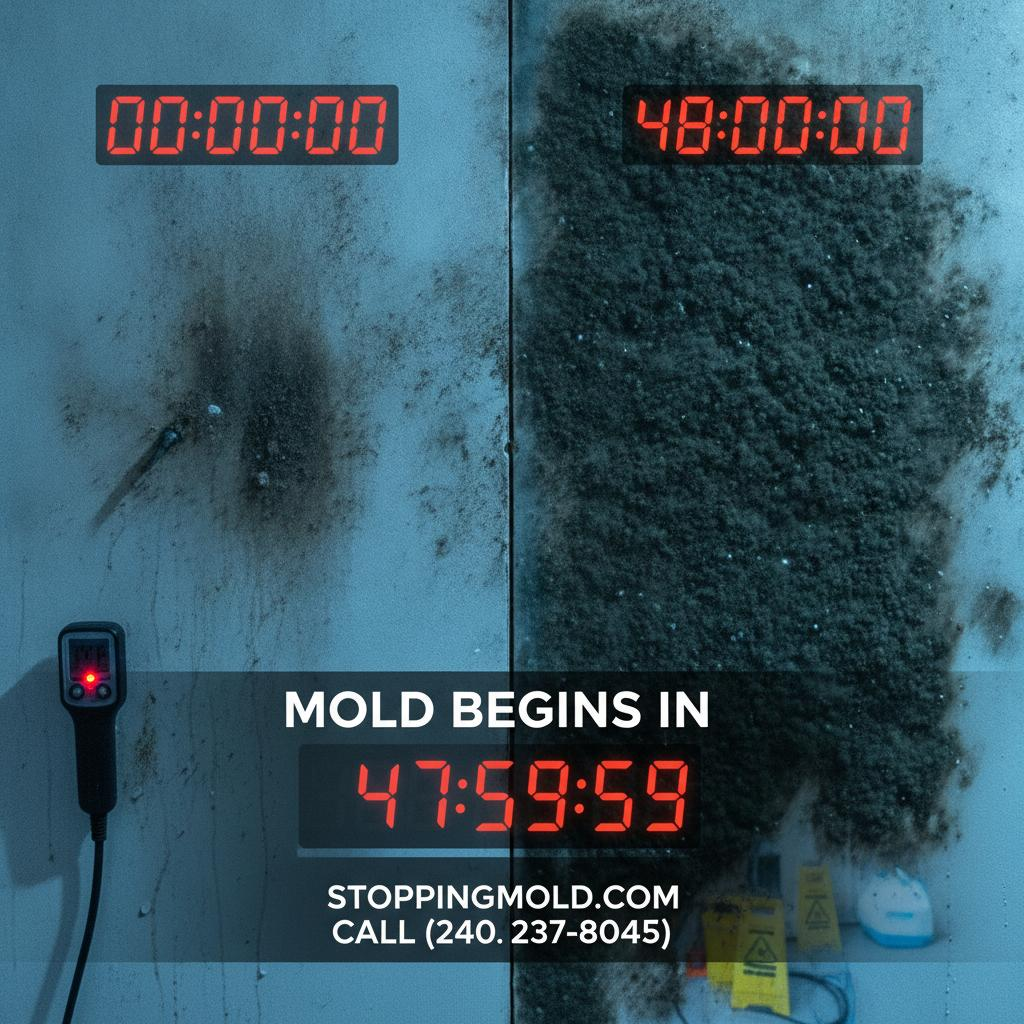
Water damage spreads fast. Within 48 hours, standing water invites mold growth, wood rot accelerates, and drywall loses structural integrity. But here's the critical part: your insurance adjuster needs clear, timestamped evidence to approve your claim without delays. Proper documentation on Day 1 eliminates guesswork, prevents back-and-forth communication, and keeps your remediation on schedule. Without it, your house stays wet, costs climb, and mold takes root.
What Should You Document First?
How do you create a moisture map your adjuster will accept?
A moisture map is a visual record showing exactly where water reached and how deep the saturation goes. Adjusters use this to verify your claim scope and approve the right remediation budget.
Here's what to include:
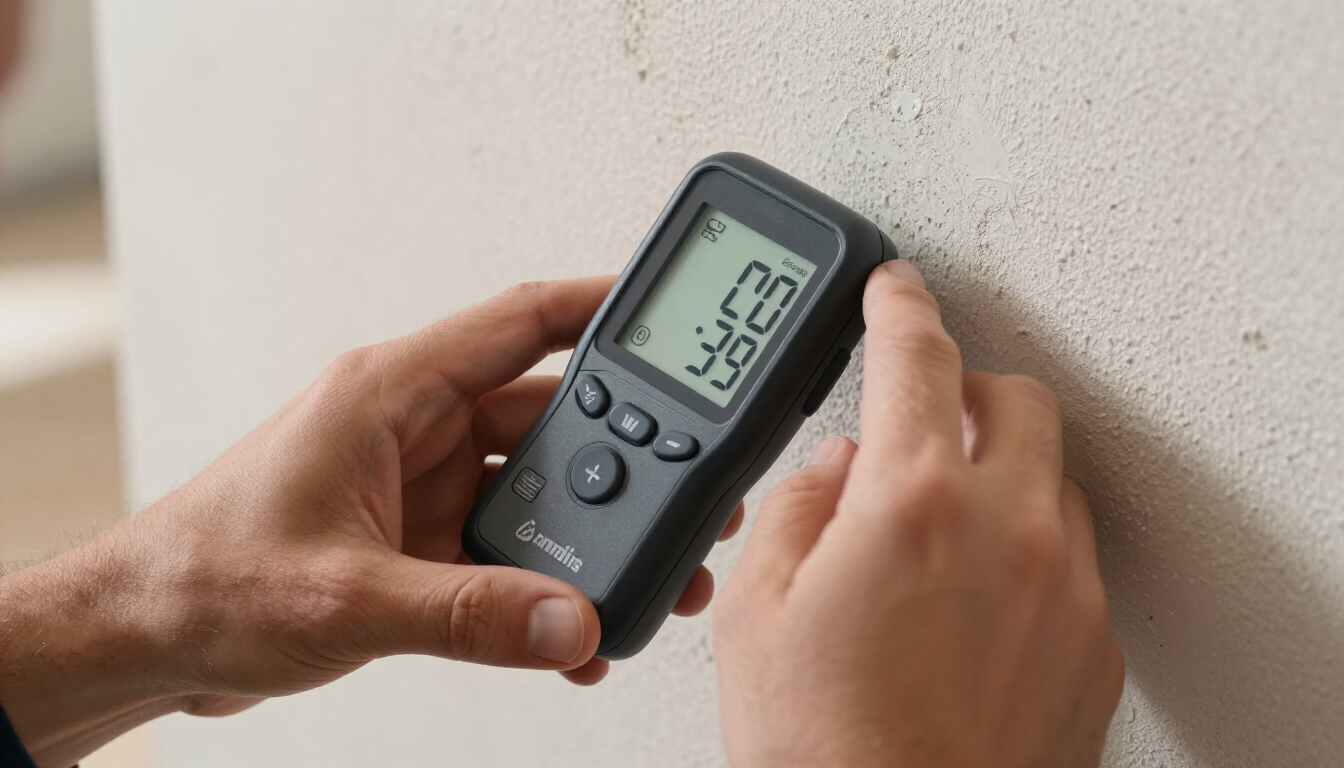
- Room-by-room moisture readings (use a moisture meter on drywall, flooring, and baseboards)
- Timestamps for each location
- Photos of wet materials with the meter displayed on-screen
- Notes on water stains, discoloration, and odor zones
- Dimensions of affected areas
Take photos from multiple angles and zoom in on corners, under cabinets, and behind appliances—these are where water hides and mold starts.
The Three-Part Documentation Package Adjusters Expect
What goes into a drying plan your adjuster can follow?
A drying plan tells the adjuster exactly how you (or a professional) will return the home to safe moisture levels. It demonstrates you're preventing secondary damage and mold growth—which keeps your claim valid.
Your drying plan must include:
- Equipment placement – Where dehumidifiers and air movers go and why
- Timeline – Expected drying duration per material type
- Monitoring schedule – When and where moisture will be re-tested
- Success metrics – Target moisture levels (typically 10–12% for drywall)
Professional dehumidification services accelerate drying and give your adjuster confidence in the process.
Why should your estimate be tied to documented damage?
Line-item estimates linked to your moisture map eliminate disputes. When the adjuster sees "Drywall replacement (west bedroom, 200 sq ft, 18% moisture)" instead of "Drywall restoration ($3,000)," approval happens faster.
Make your estimate specific:
- Identify each damaged material by room and location
- Note moisture readings for each item
- Attach photos referenced by room and surface
- Include labor and materials separately
- Cross-reference back to the moisture map
This creates an audit trail that prevents the "I don't see the damage" denial.
Step-by-Step: Document Like a Pro in 48 Hours
Day 1: Capture the Scene (Hours 1–12)
Start immediately—every hour matters.
- Take wide-angle photos of each room before touching anything
- Measure standing water depth and sketch the wet zone on a floor plan
- Note the water source (pipe burst, roof leak, flood, etc.)
- Begin moisture readings in affected rooms and one "control" room (unaffected area for comparison)
- Set up a documentation folder with date, time, and location labels for each photo
Day 1: Build Your Moisture Map (Hours 12–24)
- Test drywall, flooring, baseboards, and carpet in gridded sections
- Record readings and photos every 2–3 feet across the wet zone
- Use a ruler or tape measure visible in photos to show scale
- Mark wet areas with painter's tape and label them A1, A2, B1, etc.—then reference the grid in your photos
Day 2: Finalize Your Plan and Estimate (Hours 24–48)
- Create a one-page drying plan with equipment placement sketches
- Draft your line-item estimate tied to the moisture map
- Have a licensed contractor (like Home Restoration Services ) review your documentation
- Submit everything to your insurance company with a cover note summarizing the incident and timeline
Key Takeaways: Speed Your Claim From Start to Finish
Proper documentation in 48 hours is the difference between a 2-week claim approval and a 2-month stall. A timestamped moisture map shows the adjuster exactly what's damaged. A clear drying plan proves you're preventing mold growth. And a line-item estimate tied to your photos eliminates disputes over cost.
Your next step: Contact a licensed remediation contractor to validate your documentation and oversee the drying process. If mold or structural damage emerges, you'll already have the proof you need to expand your claim. Don't wait—document today, dry tomorrow, recover completely.